
Microcement in Dubai has gone from a niche designer finish to something clients ask for by name, usually after seeing a grout-free bathroom or a seamless floor that runs from the living room onto the terrace. It is a cement-polymer coating applied by hand in layers 2–3 mm thick, it bonds to tiles, screed, plasterboard and even old kitchen worktops, and it can be installed without demolition — which is exactly why it is attractive in an occupied tower apartment. It is also unforgiving: it copies the substrate beneath it, it needs a specialist applicator, and it fails in predictable ways when either of those is ignored. This guide covers what it costs in 2026, where it works in a Dubai home, how it is installed and when tiles are simply the better answer.
Key takeaways
- Microcement is a 2–3 mm hand-applied coating, not a floor. Its performance is decided almost entirely by the substrate and the sealer.
- Indicative 2026 Dubai pricing runs roughly AED 150–300 per sq m on walls, AED 220–400 on floors and AED 280–500 in wet areas, supplied and applied.
- It can go straight over existing tiles, which avoids demolition, debris removal and much of the building NOC friction in an occupied apartment.
- Its two real weaknesses are structural movement, which telegraphs through as cracks, and acids and oils on unsealed or under-sealed surfaces.
What microcement actually is
Microcement — also sold as microtopping, microskin or micro-concrete depending on the brand — is a cement base blended with polymer resins, mineral fillers and pigment. It is trowelled on by hand in two to four very thin coats over a primed substrate, then sealed. Total build-up is typically 2–3 mm, which is why it can be laid over an existing floor without raising door heights or losing ceiling clearance.
The appeal is almost entirely visual: no grout lines, no tile joints, and a continuous surface that can run up a wall, across a floor and over a bath surround as one plane. The finish is controllable too, from a near-flat matt through to a heavily mottled, cloud-like texture, and it takes pigment well enough that off-white, warm grey and deep charcoal all look intentional rather than industrial.
Where microcement works in a Dubai home — and where it does not
After a few years of these installations across Dubai apartments and villas, the pattern is fairly clear.
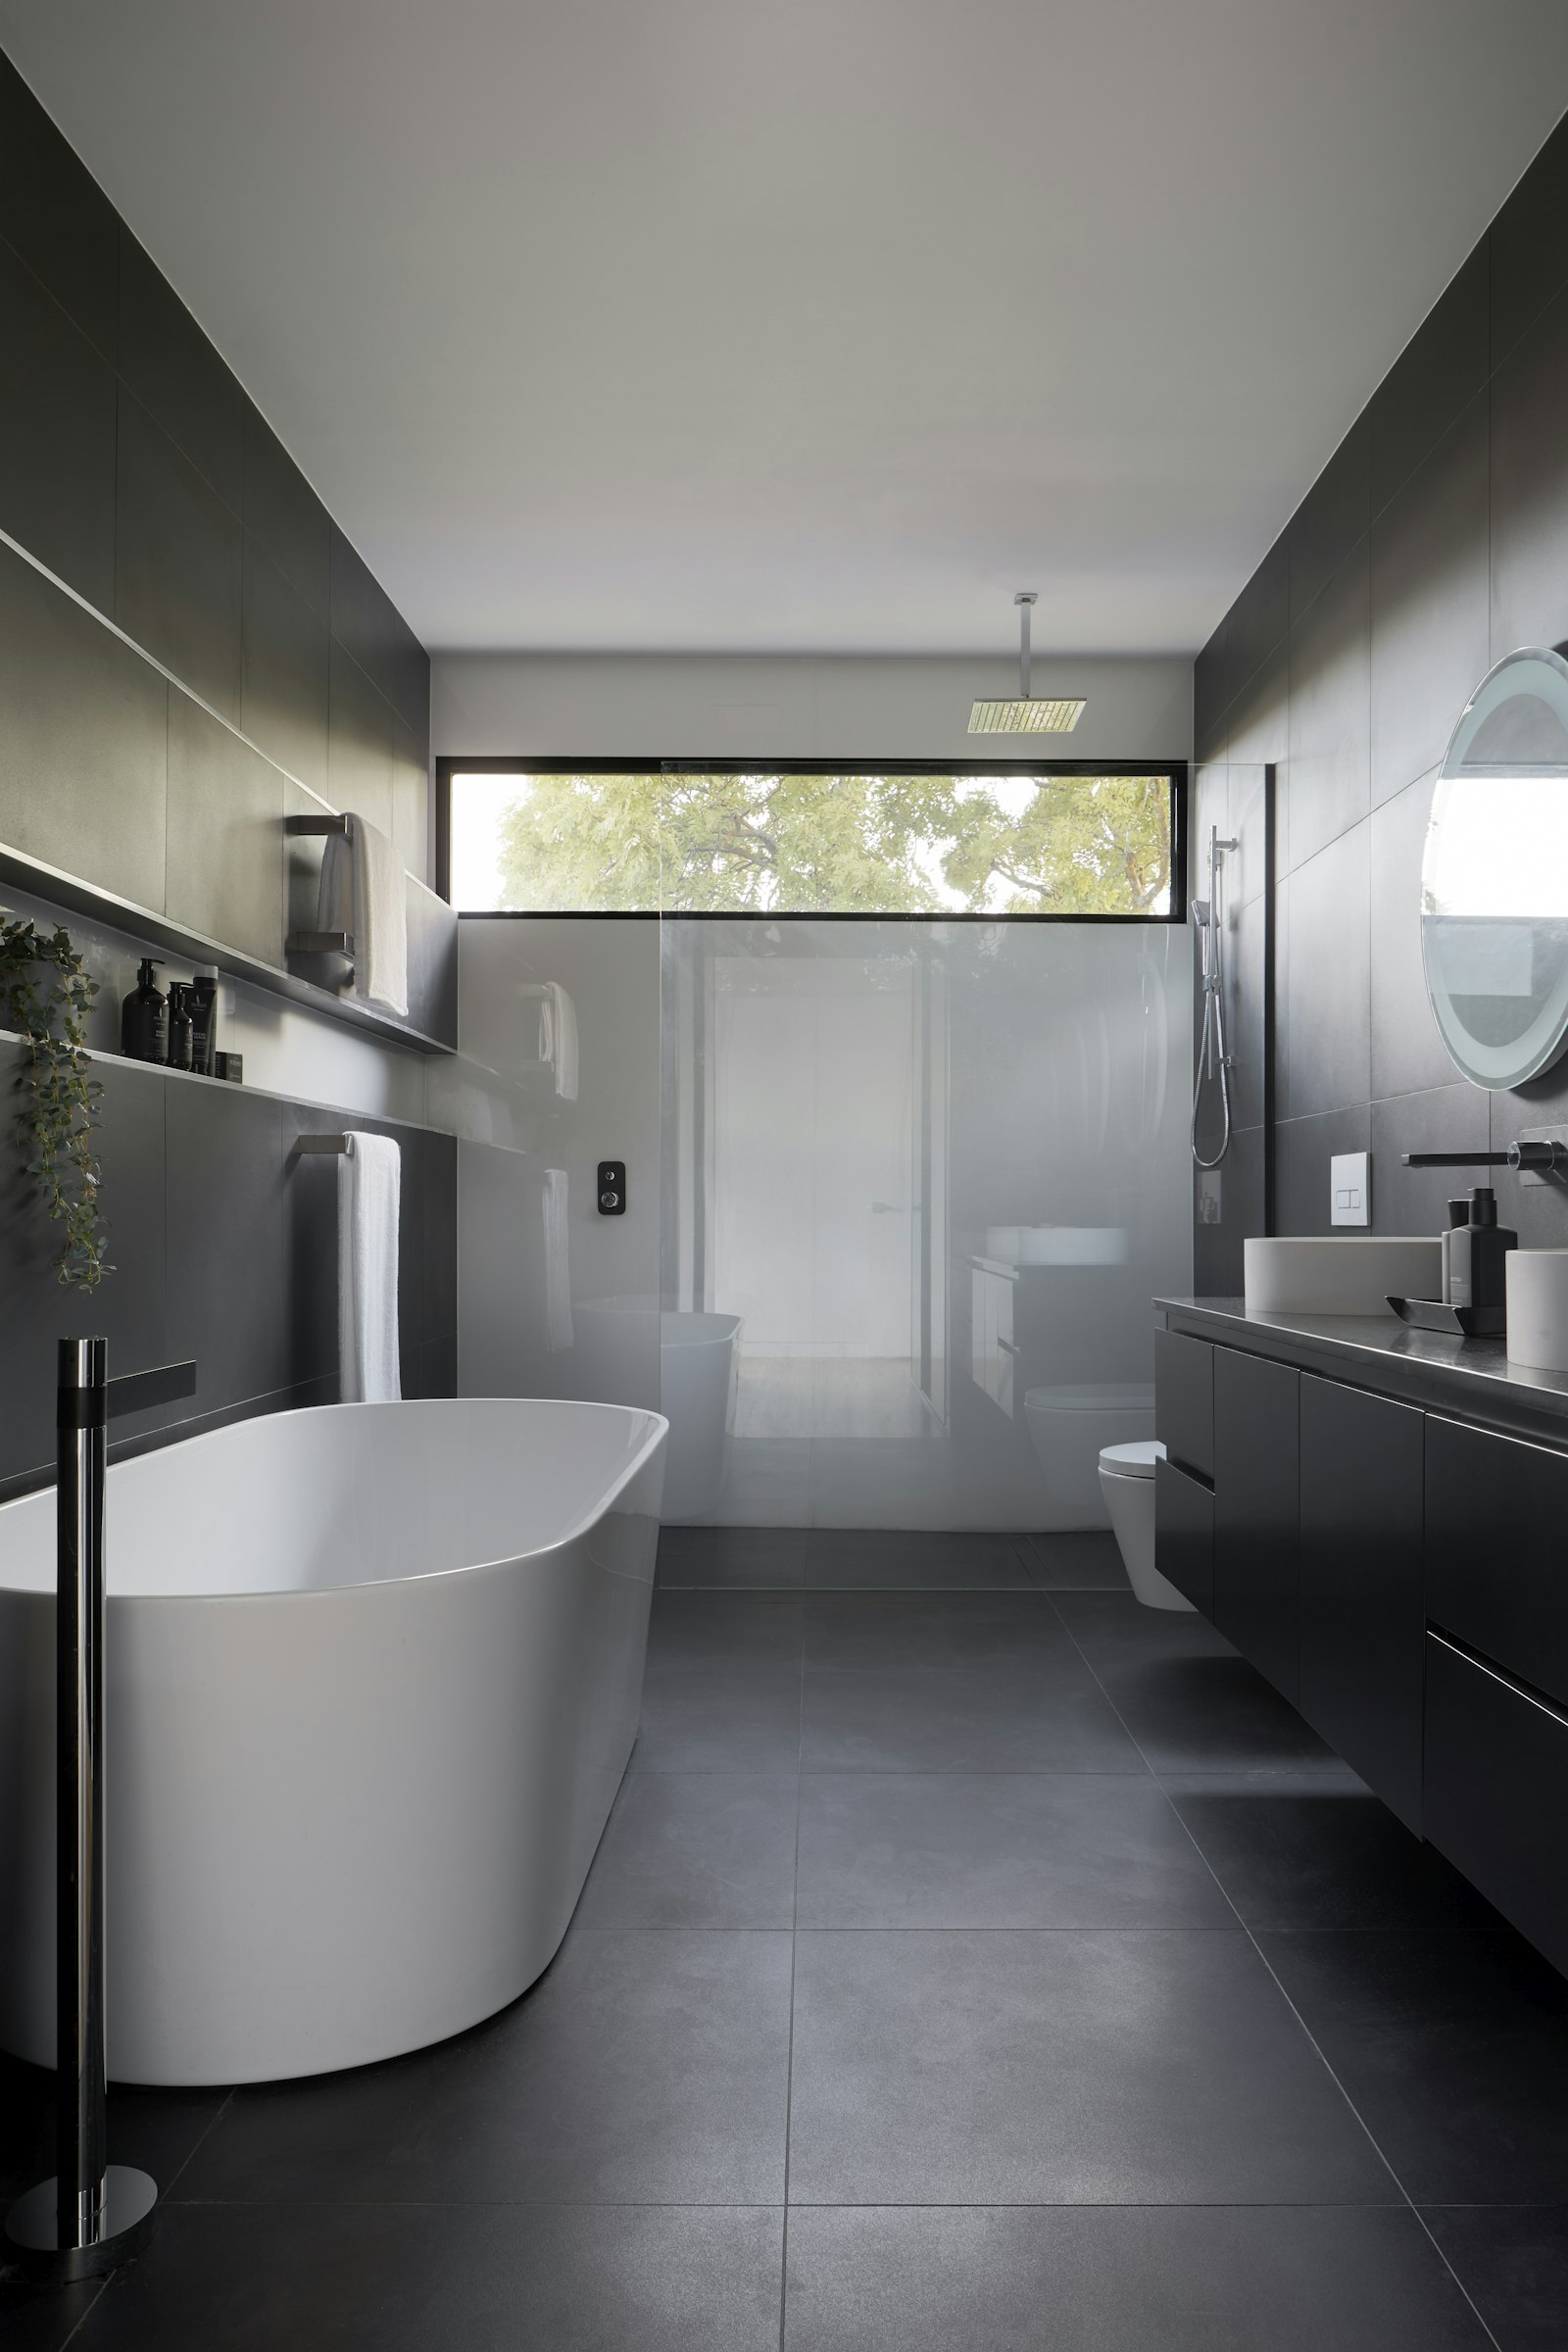
- Bathroom walls and shower enclosures — the strongest use case. No grout to discolour, no silicone lines to go black, and a genuinely seamless look. It must sit over a correctly installed waterproofing membrane, not instead of one.
- Living and bedroom floors — excellent visually, and the seamless run between rooms is the main reason people choose it. Needs a sound, level, crack-free screed underneath.
- Feature walls and TV units — very low risk, very high impact, and the cheapest way to test whether you actually like the material before committing a whole floor.
- Kitchen worktops and splashbacks — possible and beautiful, but the highest-maintenance option in the house. Lemon, vinegar, wine and oil all attack a cement-based surface if the sealer is worn or was applied thin.
- Terraces and outdoor areas — only with a UV-stable exterior system and a non-slip finish. Dubai sun degrades interior-grade sealers quickly, and a standard smooth finish is dangerous wet.
- Where to avoid it — over floors with known structural movement, over hollow or debonded tiles, in a balcony with a poor fall, and anywhere a landlord expects a standard handover finish at end of lease.
What microcement costs in Dubai in 2026
Microcement is priced per square metre, supplied and applied, and the range is wide because the material itself is a minority of the cost — most of the money is skilled labour and the preparation underneath. The figures below are indicative for 2026 in Dubai.
| Application | Cost per sq m | What drives it |
|---|---|---|
| Feature walls, dry areas | 150-300 | Thin build-up, minimal prep, fastest to finish |
| Living area floors | 220-400 | Substrate condition, area size, number of coats |
| Bathrooms and wet walls | 280-500 | Waterproofing, extra sealer coats, detailing around fittings |
| Kitchen worktops | 350-650 | Highest wear, maximum sealing, most skill per square metre |
| Terraces and outdoor | 300-550 | UV-stable system, non-slip finish, movement joints |
Add substrate preparation on top, because it is almost never included in a headline quote: a self-levelling screed runs roughly AED 60–120 per sq m, crack stitching and reinforcement mesh AED 40–90 per sq m, and a new waterproofing membrane in a bathroom AED 80–180 per sq m. Small rooms cost more per square metre than large ones because setting up, masking and edge detailing barely scale. As a sanity check against a full strip-out, a mid-range tiled bathroom refit in Dubai usually lands higher than a microcement overlay on the same room — the comparison is set out in our bathroom renovation cost guide, and the renovation calculator gives a broader base figure.
How microcement is actually installed
The sequence below is what a competent applicator follows. If a contractor proposes to skip a step, they are quoting a different product to the one you think you are buying.
- Survey and substrate test — tap the existing tiles for hollows, check level and falls, and test moisture in the screed. Anything drummy comes out now, not later.
- Repair and levelling — cracks stitched, hollows filled, a self-levelling compound where the floor is out of tolerance. In wet areas the waterproofing membrane is installed and flood-tested at this stage.
- Priming — a substrate-specific primer, with a quartz-loaded primer over glazed tiles so the first coat has something to grip.
- Base coats with mesh — one or two structural coats with a fibreglass mesh embedded in the first, which is what limits hairline cracking across the field.
- Finish coats — two thin decorative coats, trowelled and sanded between passes. This is where the texture and colour depth are created, and where the difference between a good and an average applicator is visible.
- Sealing — two to three coats of polyurethane or a water-based sealer, matt, satin or gloss. Wet areas and worktops need the higher coat count and a chemical-resistant sealer.
- Curing — light foot traffic after 24–48 hours, full cure and water exposure typically after 5–7 days. Rushing this is the single most common cause of an early failure.
Realistic programme: a bathroom takes about 4–6 working days, a 60 sq m apartment floor 6–10 days, plus curing. Because there is little demolition and almost no debris, building management approvals are usually lighter than a full renovation — but you still need the building NOC for contractor access, working hours and lift bookings, and Dubai Municipality involvement if you are touching wet-area waterproofing or drainage.
The honest pros and cons
Microcement is genuinely good at a small number of things and genuinely bad at a few others, and most disappointment comes from buying it for the wrong reason.
| In its favour | Against it |
|---|---|
| Seamless, grout-free surfaces across floors, walls and joinery | Copies substrate movement — hairline cracks are a real risk, not a rumour |
| Goes over existing tiles, so little demolition, dust or debris | Needs a specialist applicator; a general contractor will get it wrong |
| Only 2–3 mm thick, so door and ceiling heights are unaffected | Sealer is a consumable — resealing every 2–4 years in wet or high-traffic areas |
| Fast compared with strip-out and retiling in an occupied apartment | Acids and oils stain an unsealed or worn surface, especially on worktops |
| Repairable and recolourable in place, unlike a cracked tile | Repairs can be visible; a patch rarely matches the original trowel pattern exactly |
What actually goes wrong in Dubai
Almost every failure traces back to one of five causes, and four of them are decided before the decorative coat is even opened:
- Applied over hollow tiles. The most common failure by a distance. The tile debonds slightly, the 3 mm coating above it has nowhere to go, and a crack appears in the first year.
- No mesh in the base coat. Skipping the fibreglass mesh saves a day and a few hundred dirhams, and it is why a field of hairline cracks appears across an otherwise sound floor.
- Under-sealed wet areas. Two coats of sealer where the system specifies three, or an interior sealer used in a shower, produces water marks and darkening within months.
- Curing cut short. Furniture moved back in after 48 hours, or a shower used on day three, leaves permanent marking in a surface that had not finished hardening.
- Summer site conditions. Applying in an unconditioned apartment in July, with the AC off and surface temperatures high, flash-cures the coats and ruins both adhesion and the trowel pattern. Reputable applicators insist on running the air-conditioning throughout.

Microcement vs tiles, epoxy and large-format porcelain
If what you want is the seamless look, microcement is the direct route. If what you want is durability at the lowest lifetime cost, it is usually not. Large-format porcelain at 1200 × 2800 mm gives a near-seamless concrete appearance with almost no maintenance, at a higher installed cost and with the usual demolition, debris and NOC burden. Epoxy resin is harder and fully waterproof but reads as commercial and yellows under UV. Polished concrete is the real thing, but it needs a structural slab and is impractical in an existing tower apartment.
The practical decision usually comes down to occupancy and lease. In an owner-occupied apartment where you want continuity between rooms and cannot tolerate three weeks of demolition, microcement wins comfortably. In a unit you plan to rent out on short leases, where tenants change and nobody will reseal anything, porcelain is the safer specification. This is the kind of trade-off worth settling at design stage rather than after the tiles are already in a skip, and it sits alongside the wider cost picture in our apartment renovation cost guide.
How A5renova handles microcement projects
We treat microcement as a substrate job with a decorative finish on top, which is the opposite of how it is usually sold. Before quoting we survey the existing floor or tiles for hollows, level and moisture, then price the preparation honestly rather than discovering it halfway through. The work runs as part of renovation and fit-out so waterproofing, drainage, electrical chases and the building NOC are handled by the same team that applies the finish, and interior design specifies the colour, texture and sealer grade against how the room will actually be used. Send us the room, the current floor build-up and photographs, and we will tell you whether microcement is the right call there or whether you are better off with porcelain.
Frequently asked questions
How much does microcement cost in Dubai?+
As a 2026 guide, supplied and applied rates run roughly AED 150-300 per sq m on dry-area walls, AED 220-400 on living floors, AED 280-500 in bathrooms and AED 350-650 on kitchen worktops. Substrate preparation is usually extra: self-levelling screed around AED 60-120 per sq m and new waterproofing AED 80-180 per sq m. Small rooms cost more per square metre because set-up and edge detailing do not scale.
Can microcement be applied over existing tiles?+
Yes, and it is one of the main reasons people choose it in an occupied Dubai apartment. The tiles must be sound and fully bonded, so every tile is tapped for hollows first and any drummy ones are removed and filled. Glazed tiles need a quartz-loaded primer so the base coat can grip. Applied over a debonded tile, the coating will crack above it within about a year.
Is microcement waterproof enough for a Dubai bathroom?+
The sealed system is water-resistant and performs well on shower walls and floors, but it is not a waterproofing membrane and must never be used as one. A correctly installed and flood-tested membrane goes underneath, with microcement as the finish above it. Wet areas also need the higher sealer coat count the manufacturer specifies, plus resealing roughly every two to four years.
Does microcement crack?+
It can, and when it does the cause is nearly always underneath it. A 2-3 mm coating cannot bridge structural movement, a moving joint or a hollow tile, so it telegraphs those faults to the surface. Embedding fibreglass mesh in the base coat controls hairline cracking across the field, and stitching existing cracks before starting handles the rest. Hairline cracks can usually be repaired and recoloured in place.
How long does a microcement installation take?+
A bathroom typically takes about 4-6 working days and a 60 sq m apartment floor 6-10 working days, plus curing. Light foot traffic is possible after 24-48 hours, but full cure and water exposure need roughly 5-7 days. Cutting the curing period short is the most common cause of early failure, so build it into the programme rather than treating it as slack.
Is microcement better than tiles?+
It depends on what you are optimising for. Microcement wins on appearance and on avoiding demolition in an occupied apartment, since it goes over existing tiles with minimal debris. Large-format porcelain wins on durability and lifetime maintenance, needing no resealing and tolerating tenants who will never maintain a finish. For owner-occupied homes choose microcement; for short-lease rental units, porcelain is usually the safer call.
Related services